
Adding a Shapefile
Adding a Shapefile is the core of any GIS tool. This section covers the task of adding and publishing a Shapefile with GeoServer.
Navigate to the workshop directory
$TRAINING_ROOT/data/user_data/(on Windows%TRAINING_ROOT%\data\user_data) and find the following shapefiles:Mainrd.shp Mainrd.shx Mainrd.dbf Mainrd.prj
Copy the files in the following directory:
$geoserver_data/data/boulder
for Windows:
%geoserver_data_dir%\data\boulder
Note
Ensure that all the four parts of the shapefile are copied. This includes the
shp,shx,dbf, andprjextensions.Navigate to the GeoServer Welcome Page.
Use the following credentials to Login:
- username: admin
- password: Geos
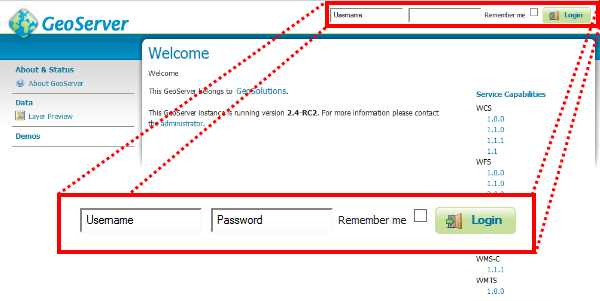
GeoServer Login
Click the Add stores button.
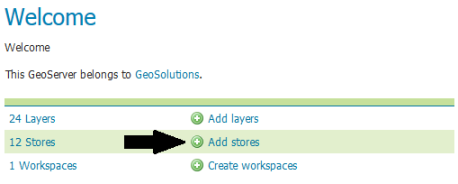
Add stores link
Click the Shapefile.
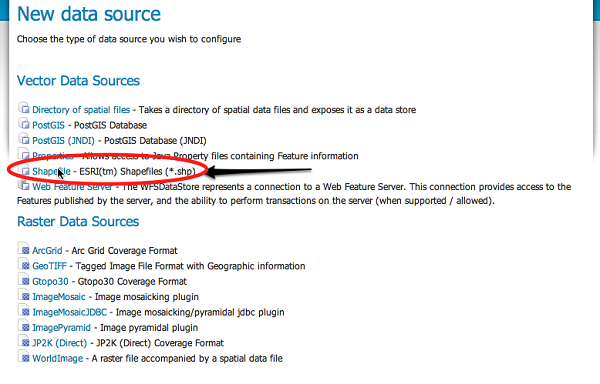
Add a new shapefile
Note
The new data source menu contains a list of all the spatial formats supported by GeoServer. When creating a new data store one of these formats must be chosen. Formats like Shapefile and PostGIS are supported by default, and many other formats are available as extensions.
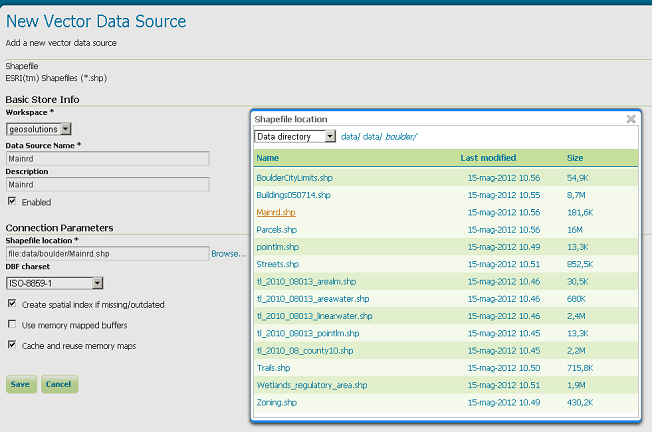
On the New Vector Data Source page, enter “Mainrd” in the Data Source Name and Description fields. Finally click on Browse... in order to set the Shapefile location in the URL field and click Save.
Note
The Mainrd.shp was copied in the data directory, inside the “data/boulder” folder.
Specifying Shapefile parameters
After saving, Click Publish.
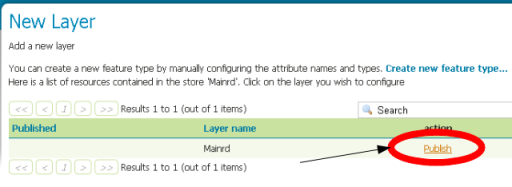
Publishing a layer from the shapefile
Set the Coordinate Reference Systems EPSG, in this case EPSG: 2876. The Name and Title fields should be automatically filled.
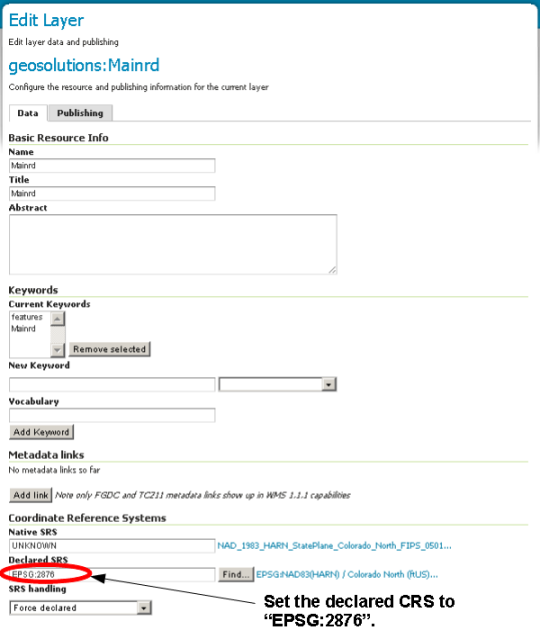
Populate fields.
Scroll down the page and generate the bounds for the layer by clicking the Compute from data button in the Bounding Boxes section.
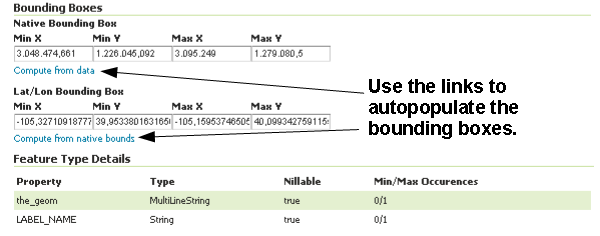
Generating the layer bounding box
Scroll to the bottom of the page, notice the read only Feature Type Detail table and then click Save.
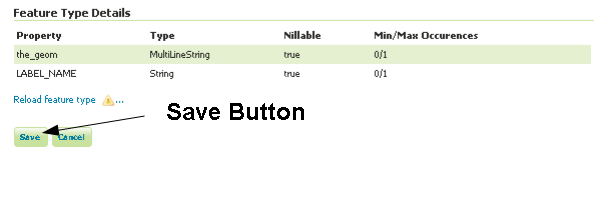
Submitting the layer configuration
If all went well, you should see something like this:
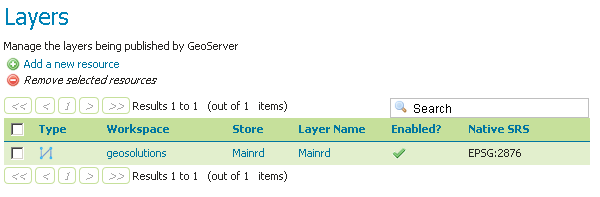
After a successful save
At this point a shapefile has been added and is ready to be served by GeoServer.
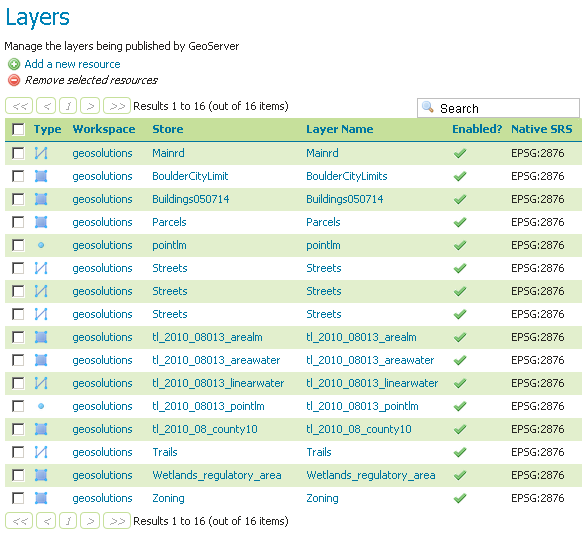
Choose the
previewlink in the main menu and filter the layer list withmainrd:
Selecting the
mainrdshapefile in the layer preview.Click on the
OpenLayerslink to preview the layer in an interactive viewer: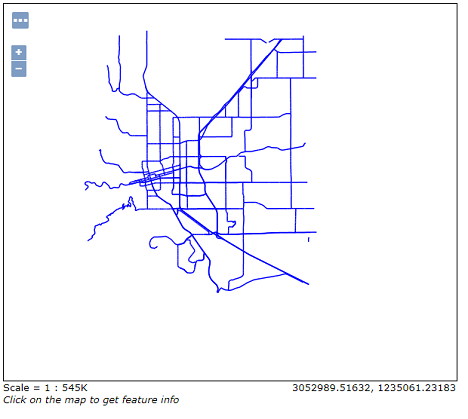
The
mainrdshapefile preview
In the next section we will see how to load a ShapeFile into PostGIS.